Update: The gifs worked! I successfully presented at sURC, and won the top prize.
I've been working on my presentation to present my mapping tool senior Honors project at MVNU's sURC. For part of this presentation I wanted an animated gif illustrating the basic drawing functionality of the tool.
I started with OBS studio to record the actual video of me drawing a simple map. Then I imported the video into Kdenlive for editing. OBS recorded the video as 1920x1080, but the actual mapping tool window that I was recording was only 1916x1008 so when I imported it into Kdenlive there was a black bar along the bottom. To solve this, I set the resolution of the Kdenlive project to 1278x672 (the same scale but a smaller resolution to keep the GIF size small) and applied a transform effect to position the original clip within the proper resolution. I set the clip speed to 300%, so that in under 30 seconds people could see an example of an entire (if small) map being created.
With the Kdenlive project ready, I rendered it to an MP4 file for conversion to GIF.
I then converted the MP4 file using
ffmpeg -i in.mp4 -vf "scale=-1:-1,split[s0][s1];[s0]palettegen[p];[s1][p]paletteuse" -r 10 out.gifThen I optimized the gif, lossily, using ImageMagick's mogrify command
mogrify -layers 'optimize' -fuzz 7% out.gifThe final size of the optimized GIF was 3.1MiB, down from a 21MiB unoptimized GIF, an 8.1MiB MP4 file, and an 11MiB original obs output file.
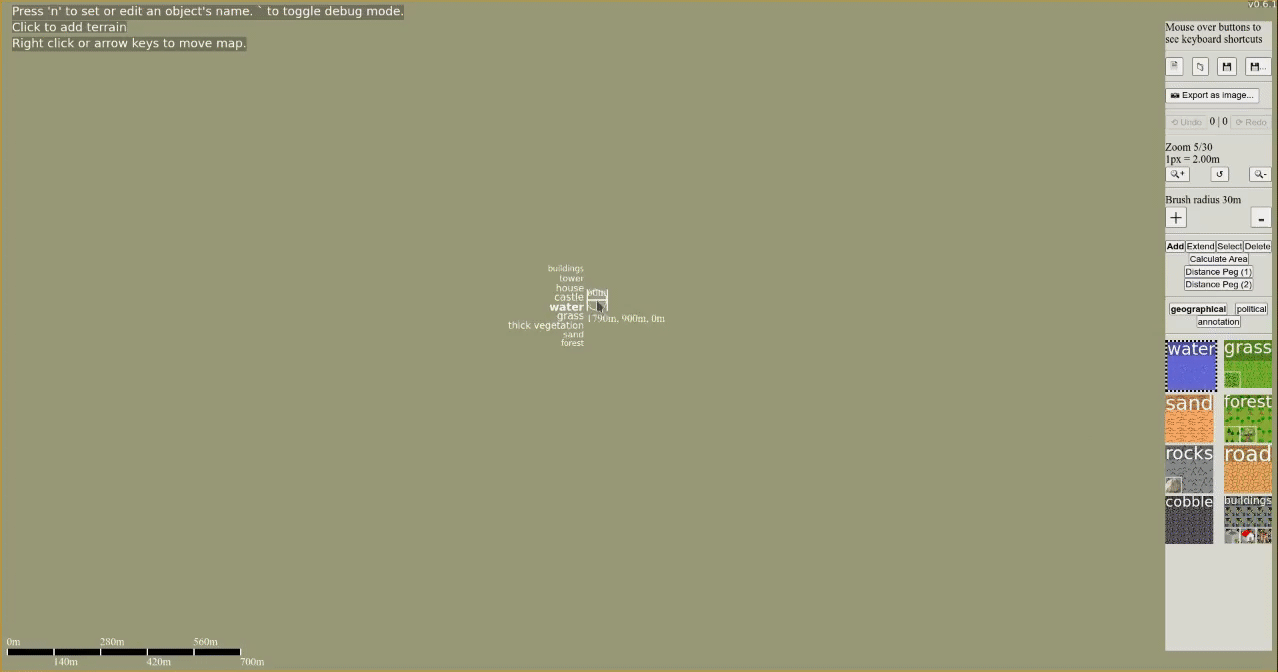
Here's the final GIF: